Retrieve the Conversions API key for a manual integration via a module
- Sign in to your Meta Business Suite.
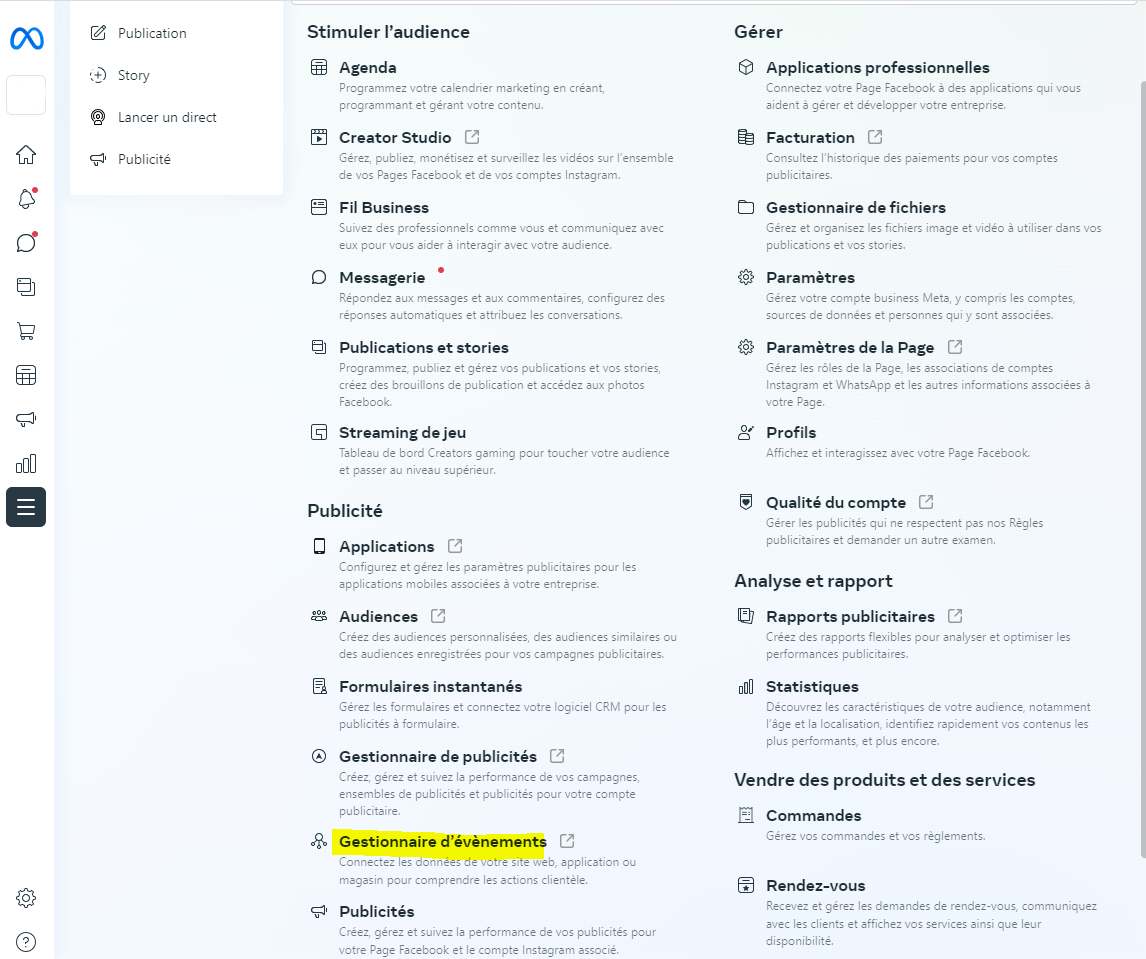
- Access the Events Manager for your ad account by following this path: Meta Business Suite > All tools > Ads > Events Manager.
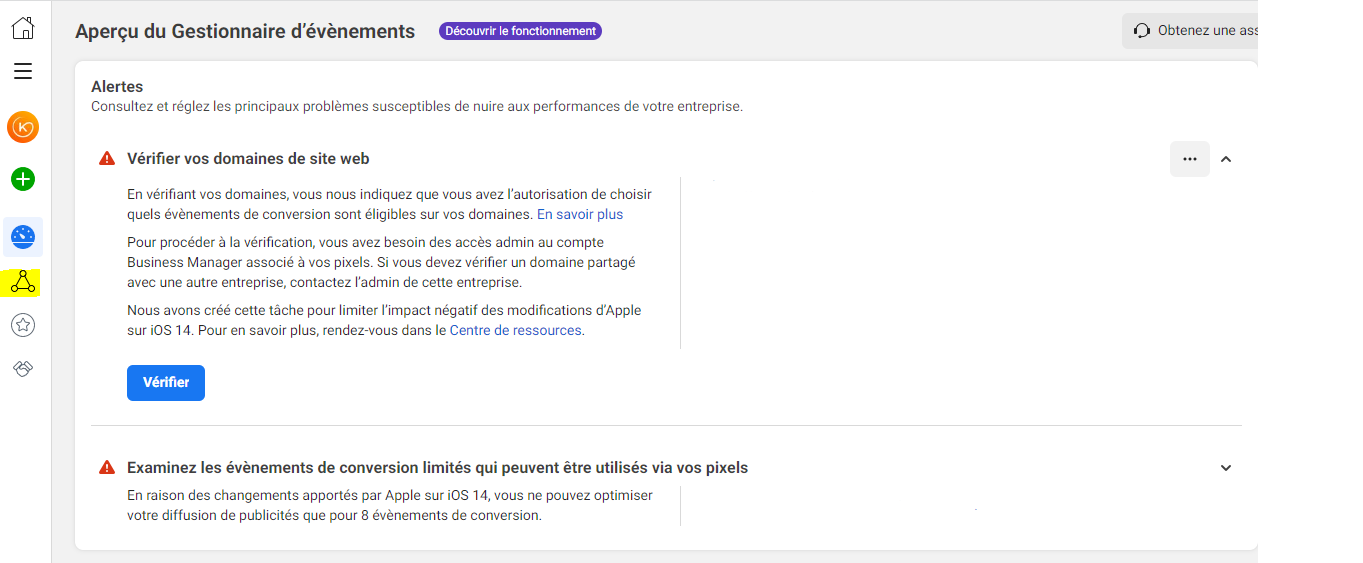
- Once you have accessed Events Manager, click the icon shaped like a triangle with three circles at its ends, in the left menu, called "Data sources":
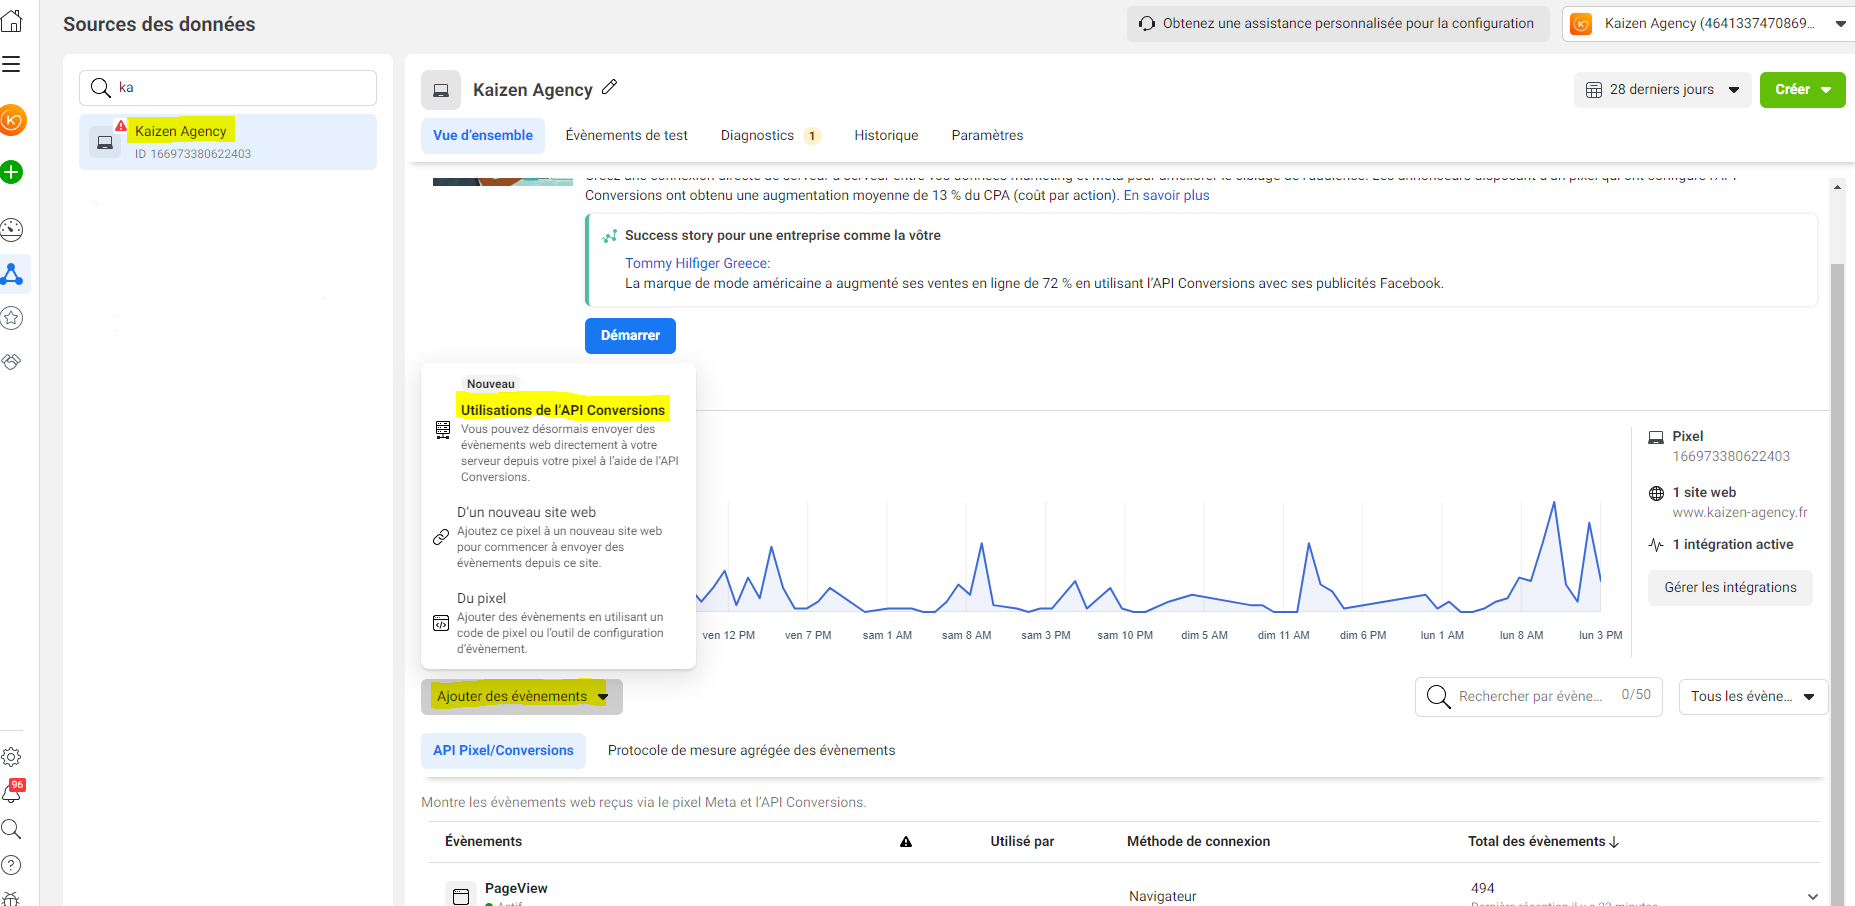
- Meta Conversions API: Select your pixel > click "Add events" > "Use the Conversions API":
- Set up the Conversions API to connect website activity: Select "Set up manually":
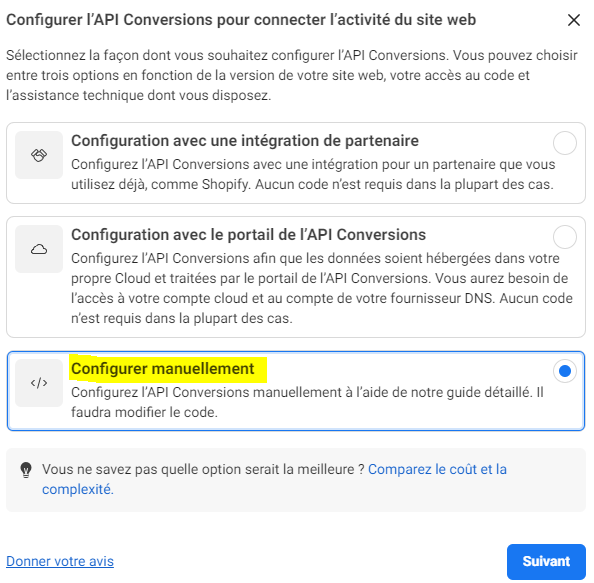
- Start of the manual Meta Conversions API implementation:
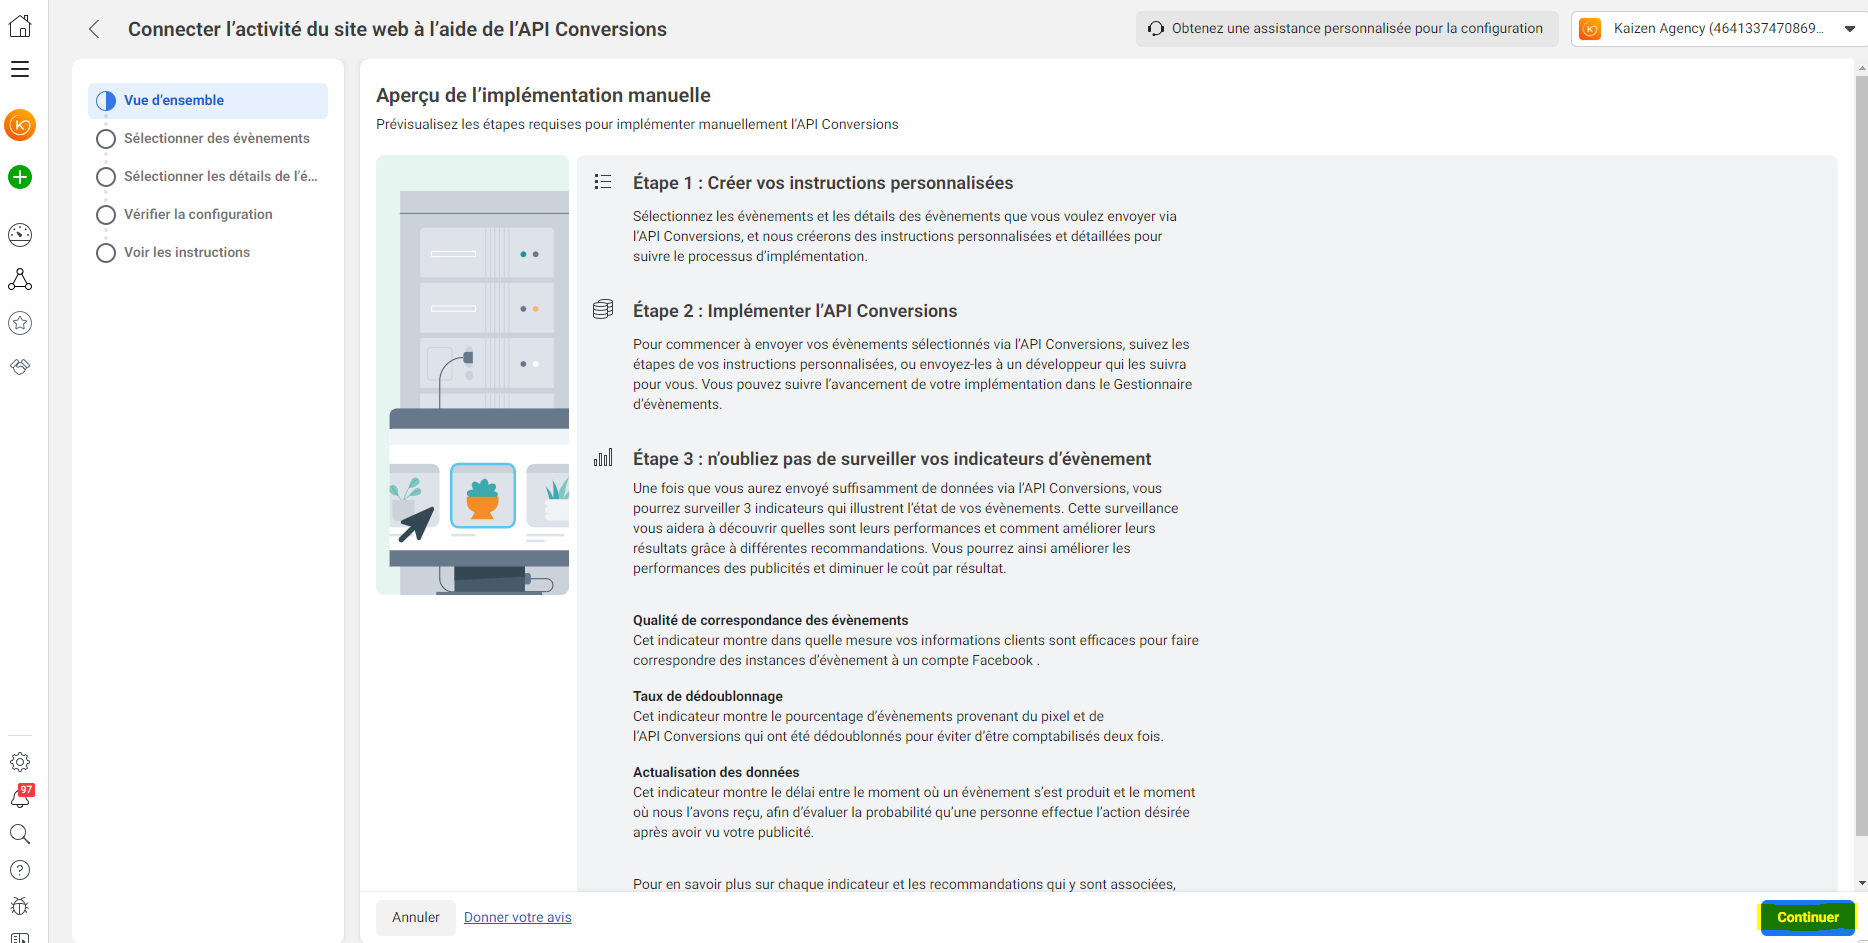
- Select the events sent using the pixel that you also want to send via the Conversions API. We recommend selecting all of them.
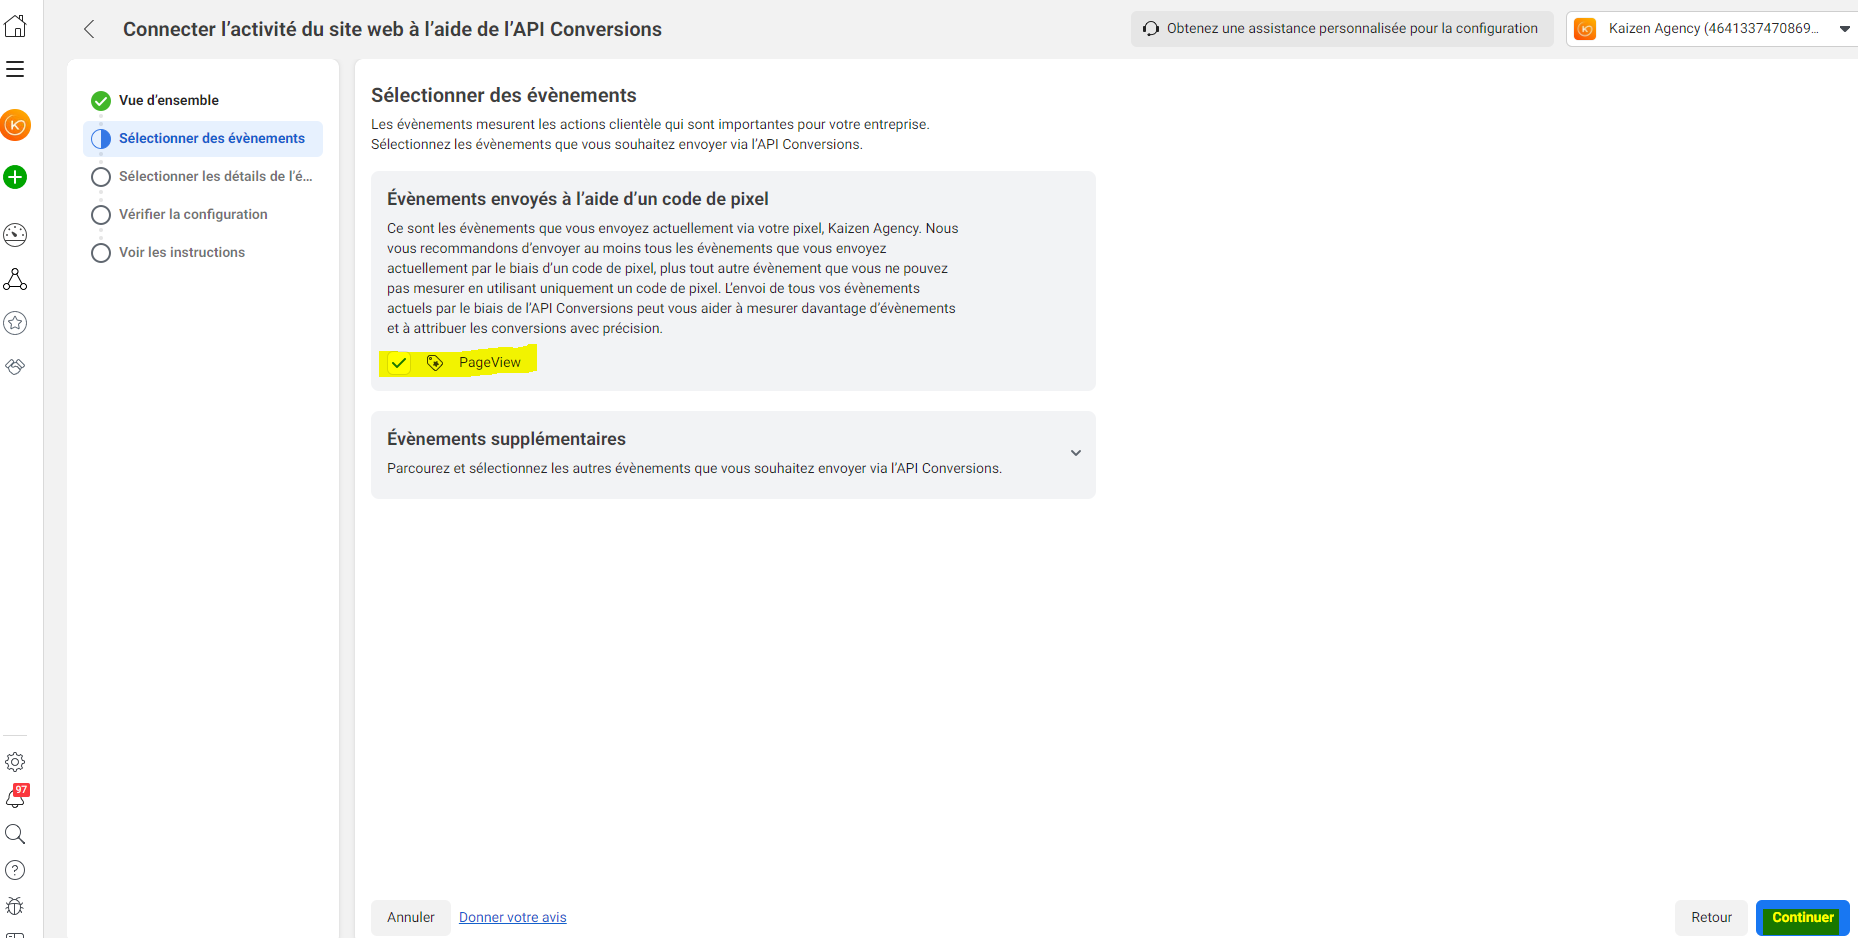
- Configure the event details. In addition to the items that are already checked and grayed out, we recommend selecting the following: Content ID, Email, First name, Last name, Phone. Then click "Continue".
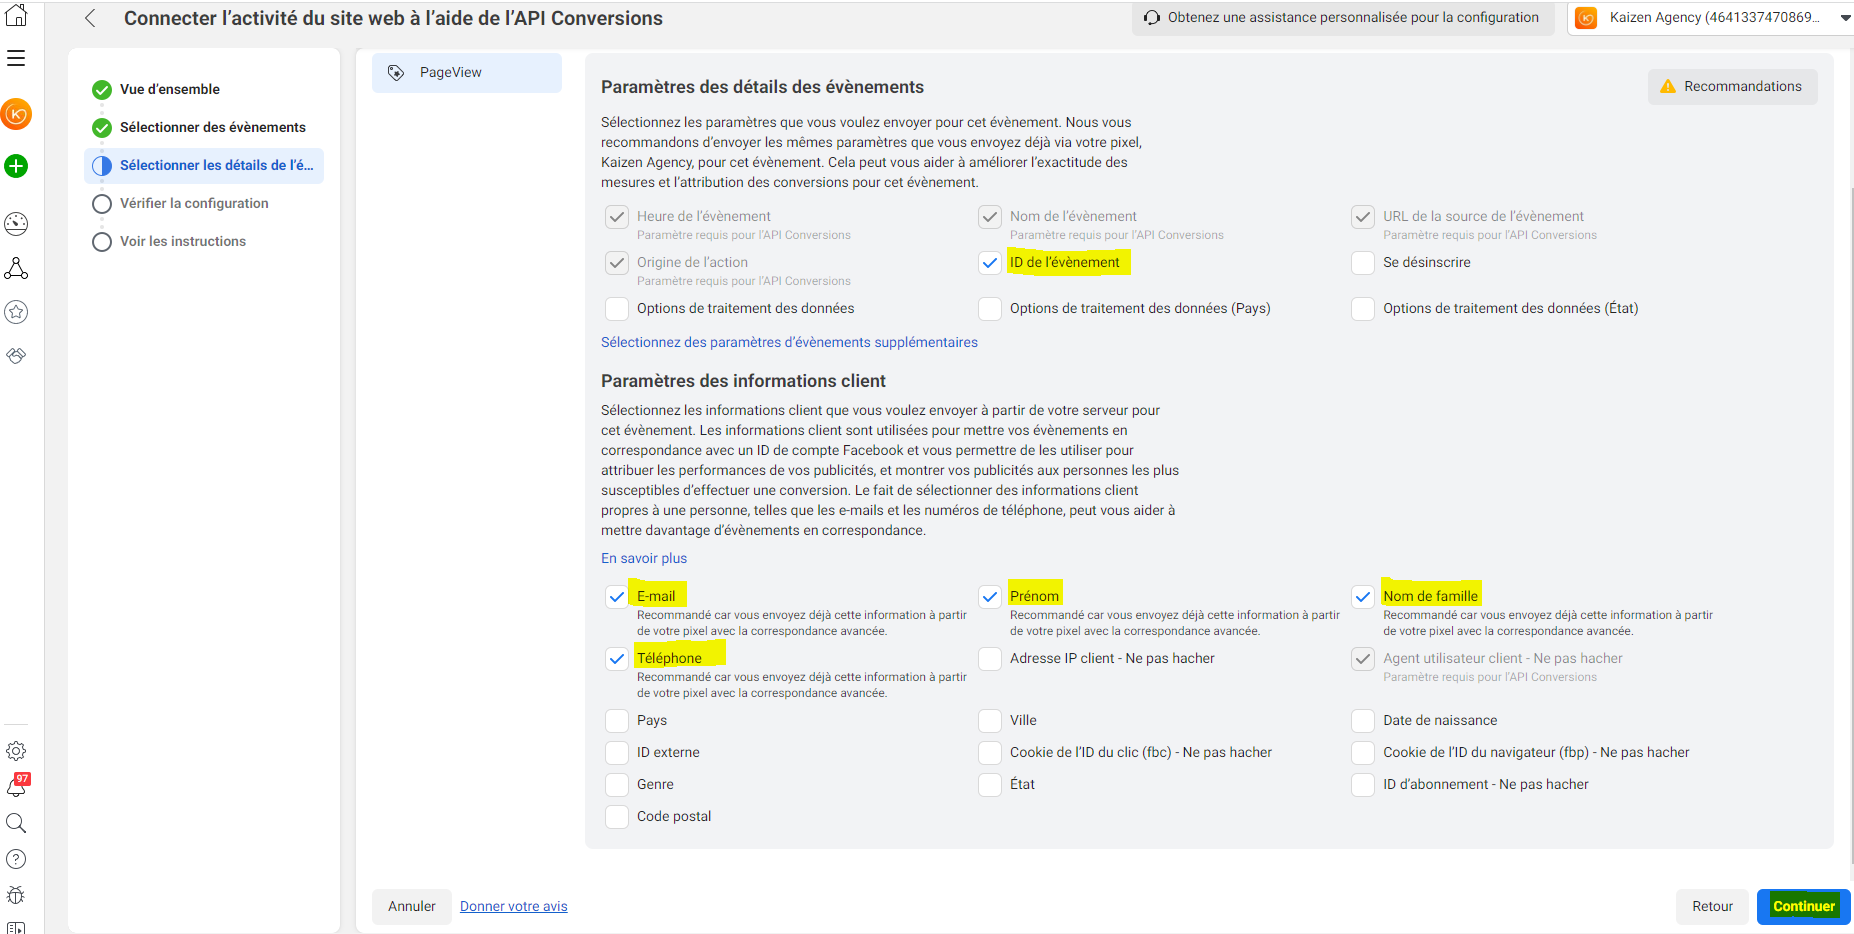
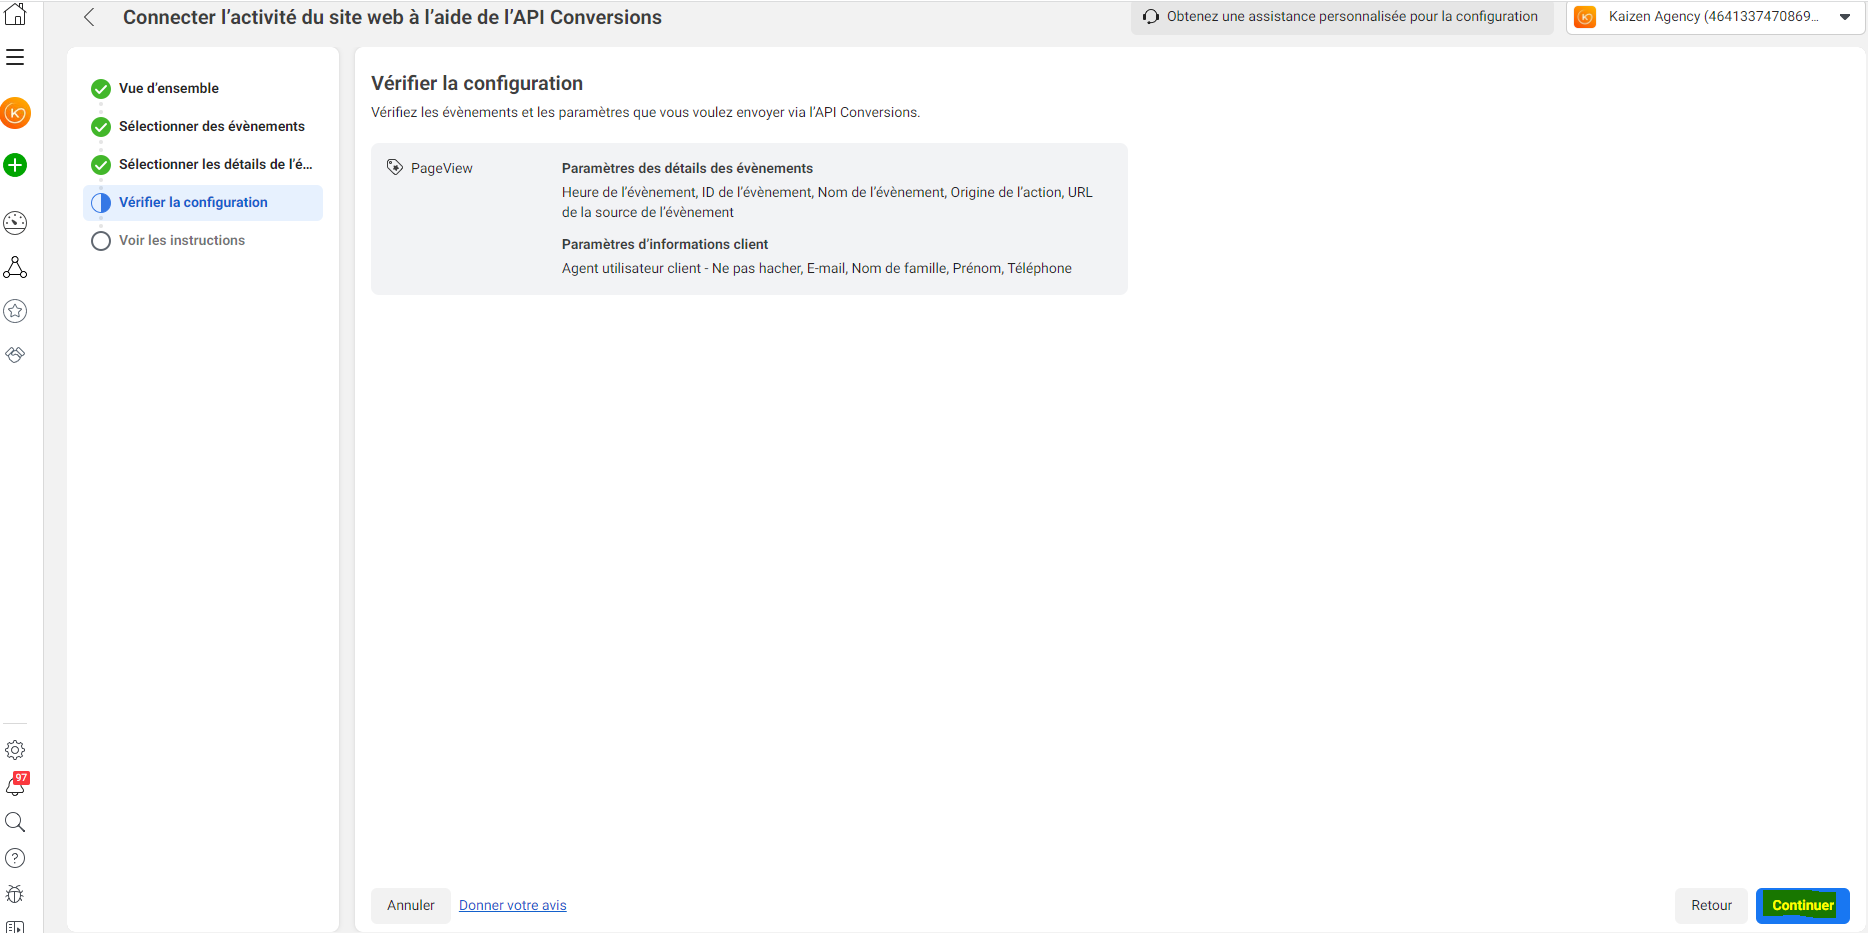
- Review the configuration, then click "Continue":
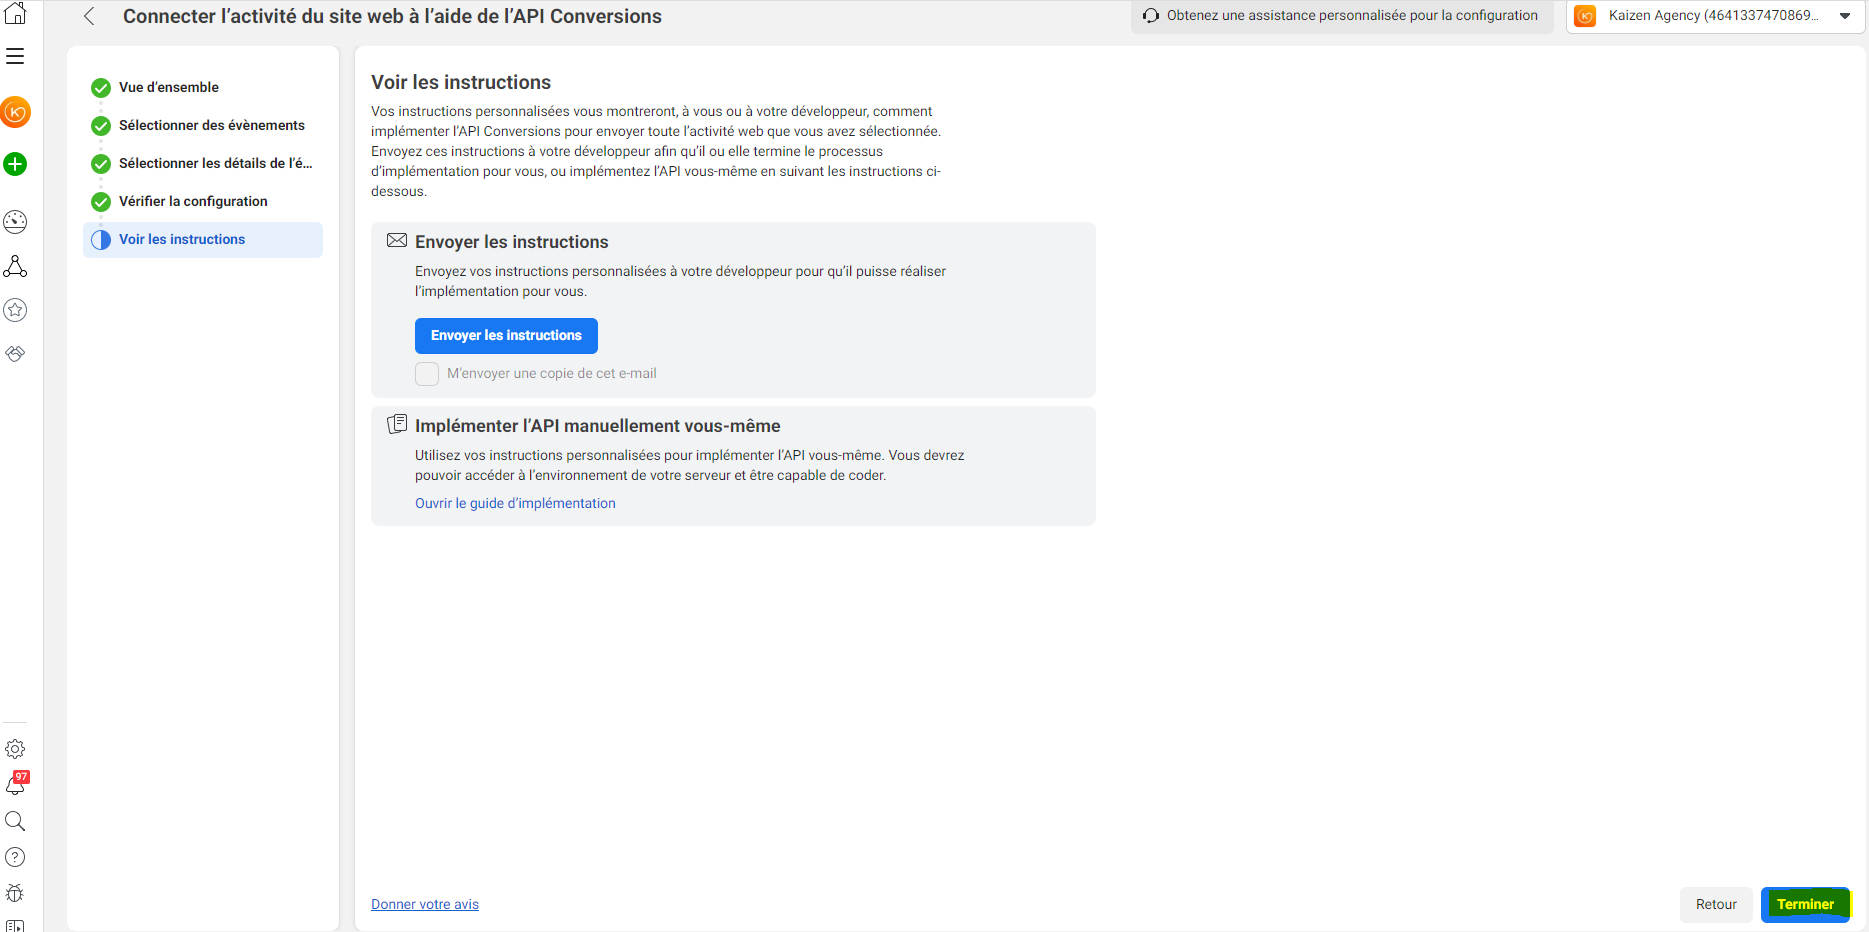
- Share the instructions with your developer so they can complete the implementation for you, then click "Finish".
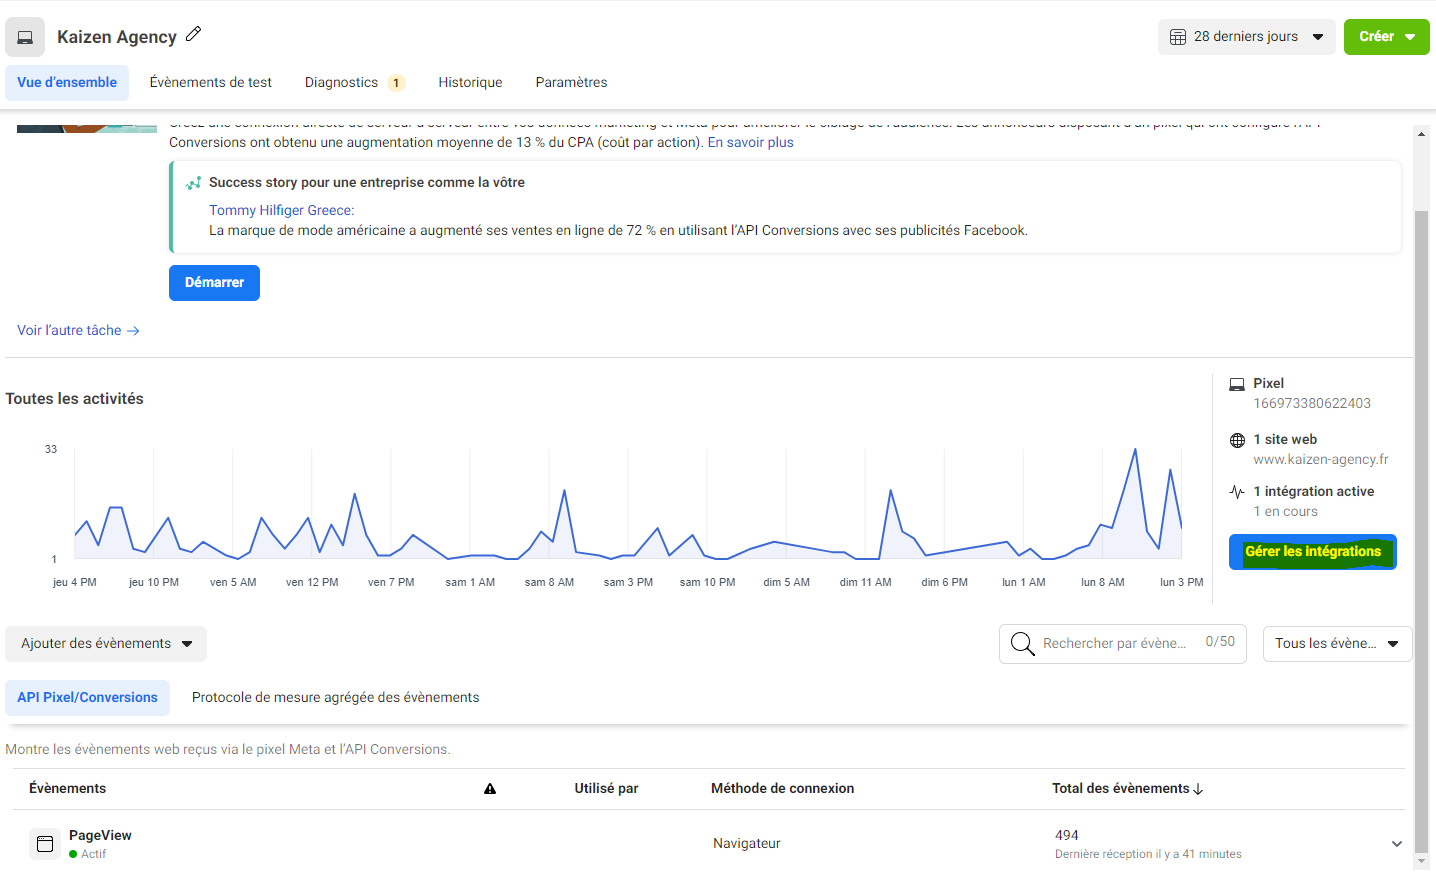
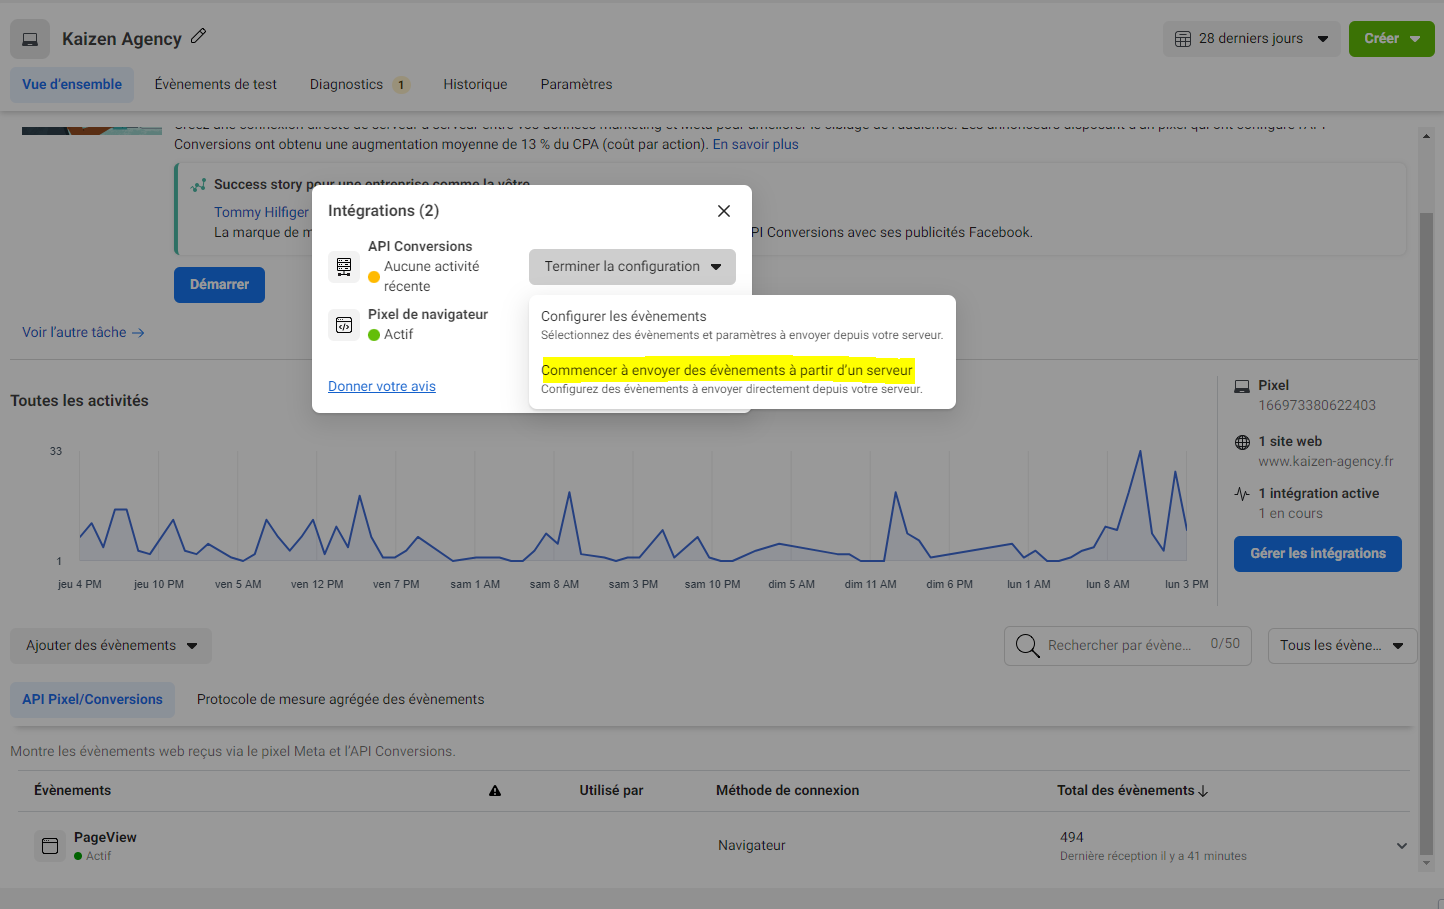
- After clicking "Finish", you will return to the data sources page of your Events Manager. To continue the process, click "Manage integrations" > "Conversions API" > "Finish setup" > "Start sending events from a server":
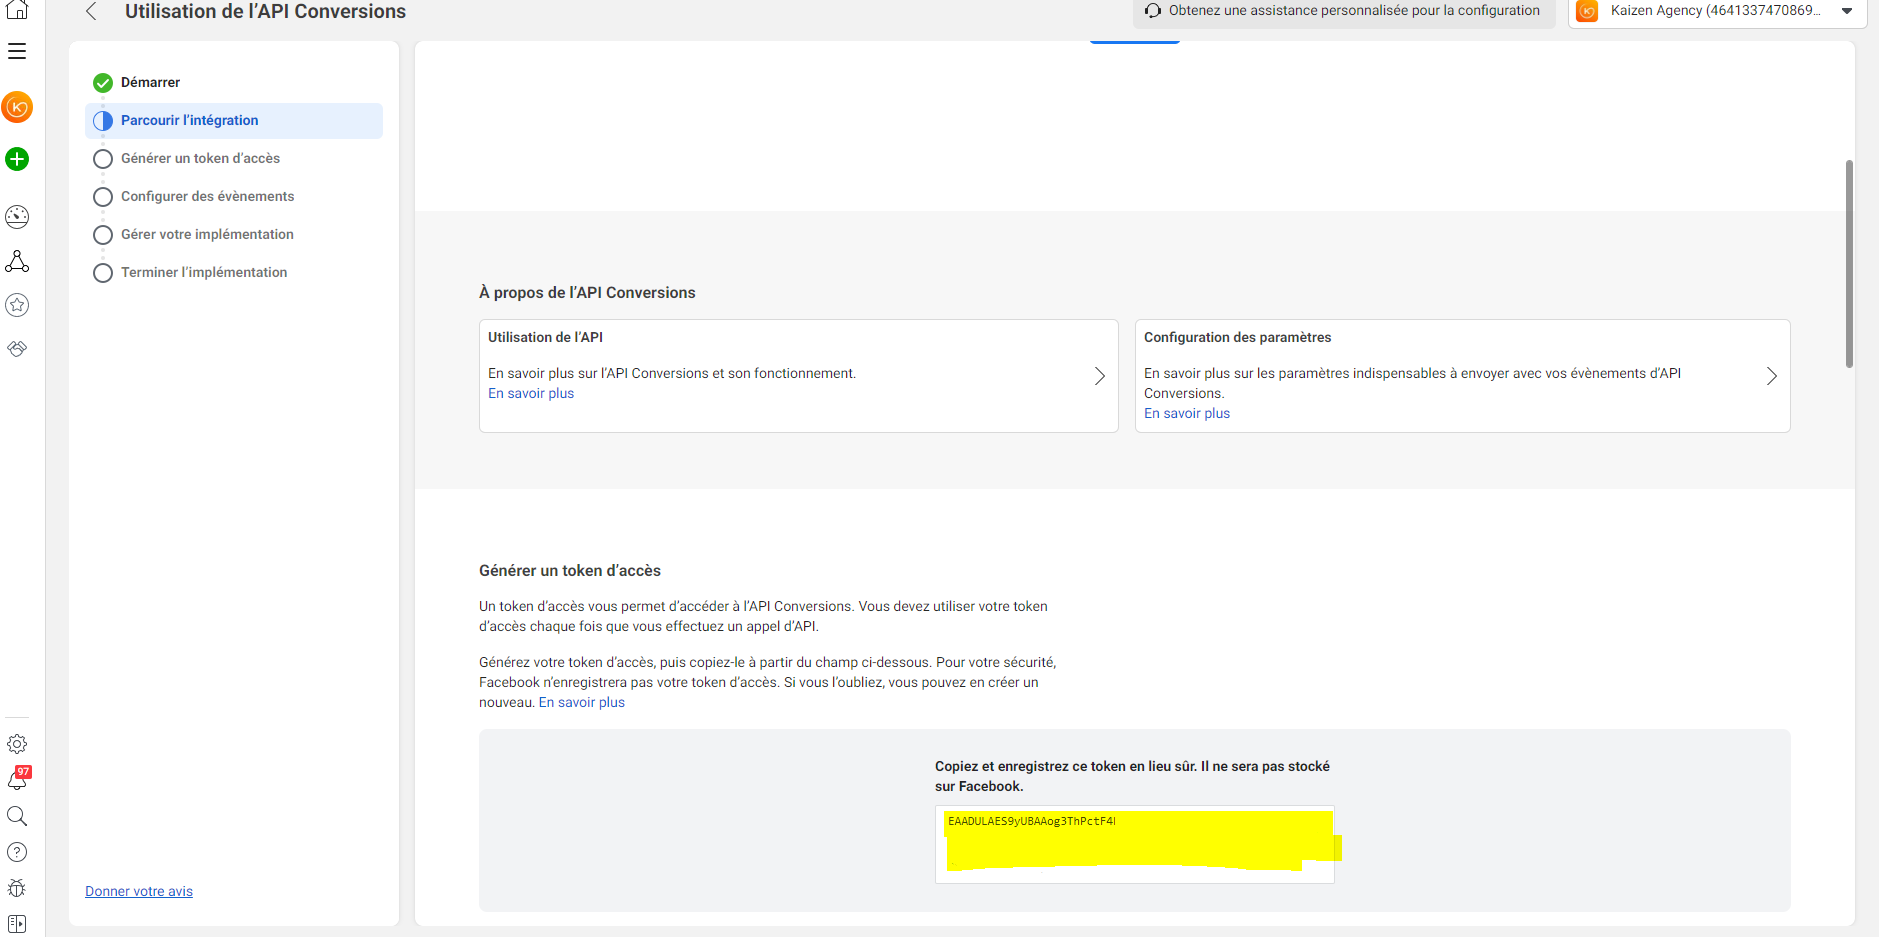
- Once you reach this new page titled "Use the Conversions API", scroll down a bit and click the "Generate access token" button, then copy and store the corresponding code in a safe place. This is the code you will need to share with your developer, who will integrate it into your CMS module. Once you have retrieved the code, click the "Finish" button at the bottom of the page.